FREE SHIPPING ON U.S. ORDERS $60+
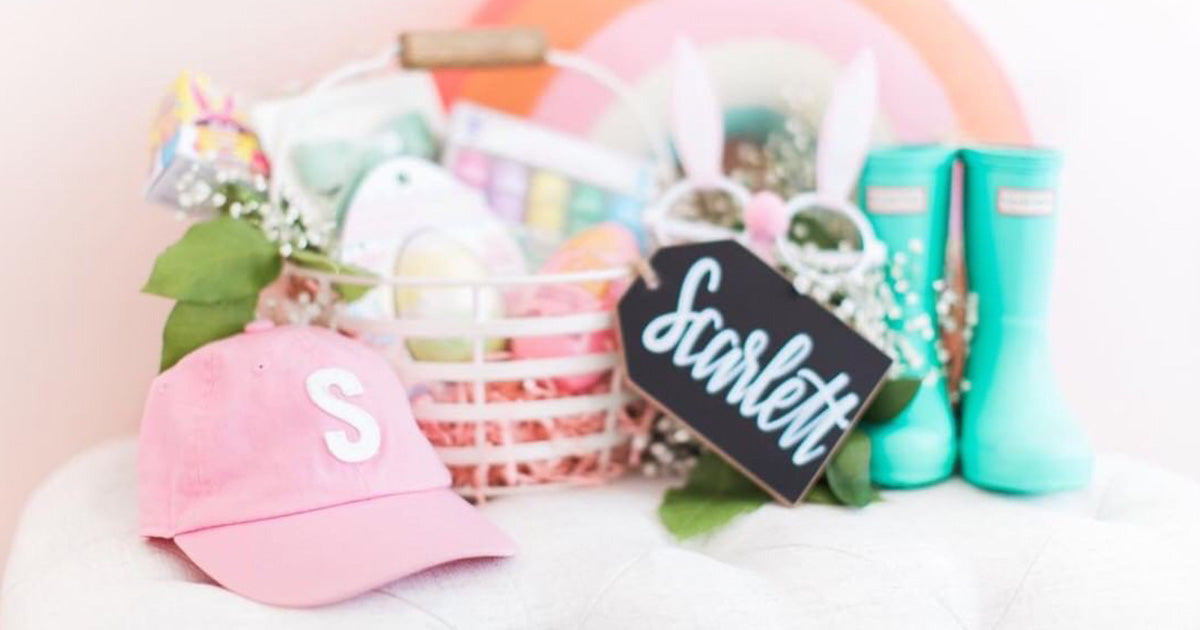
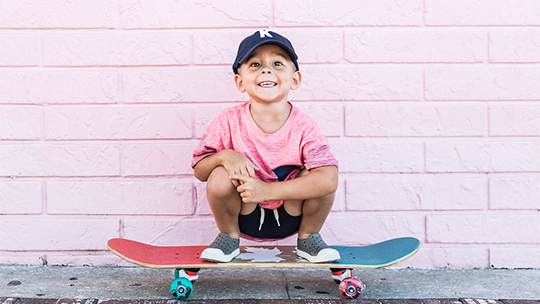
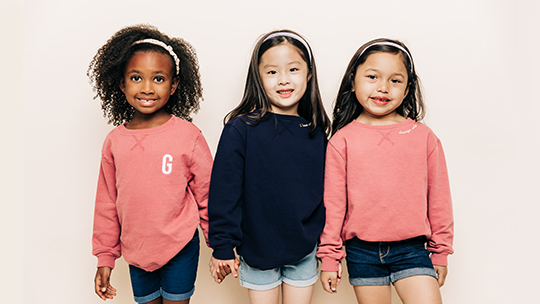
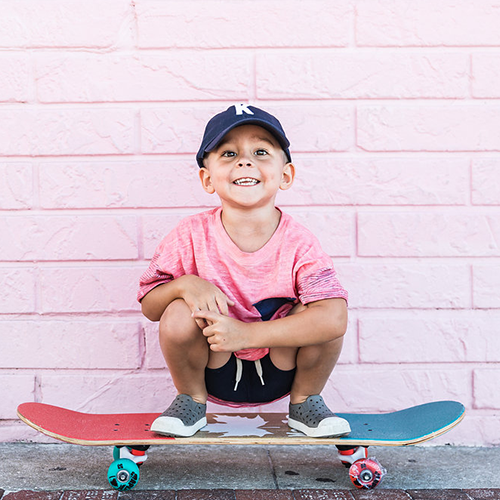
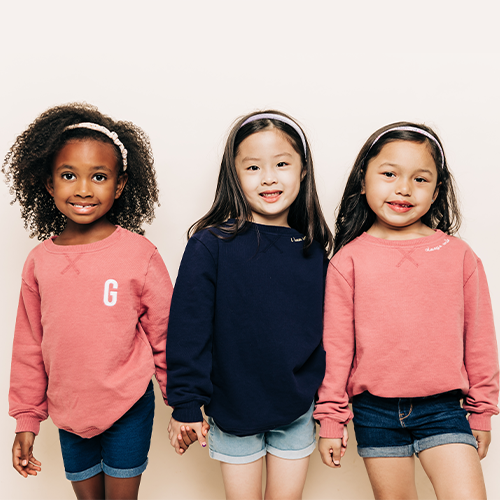
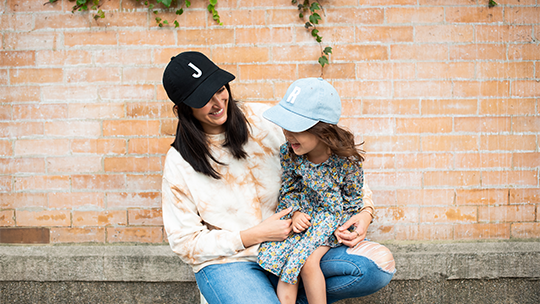
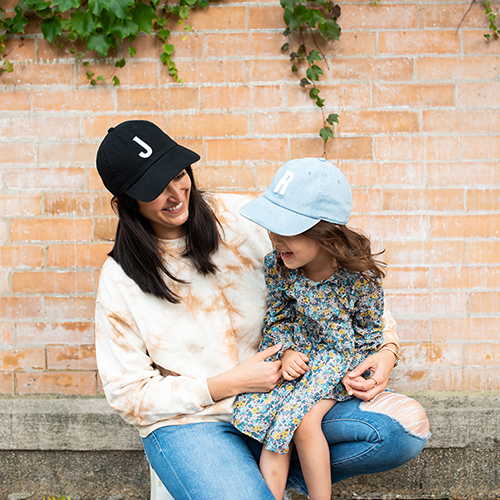
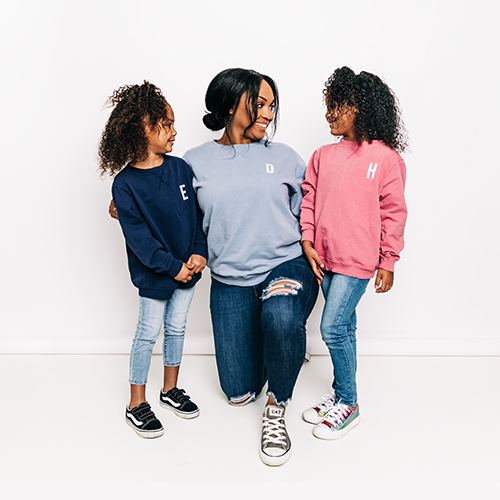
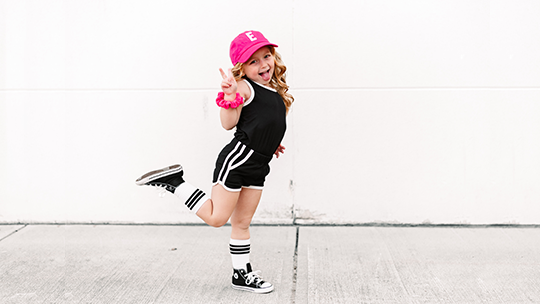
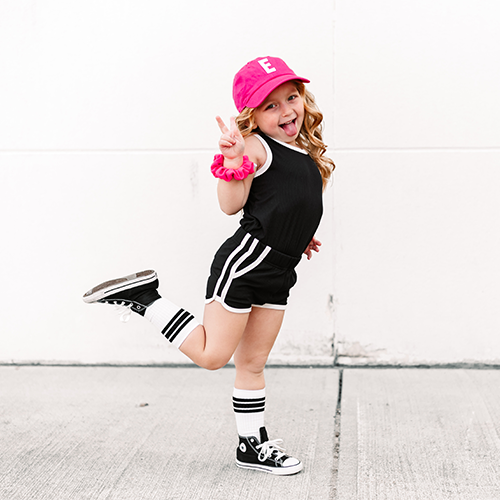
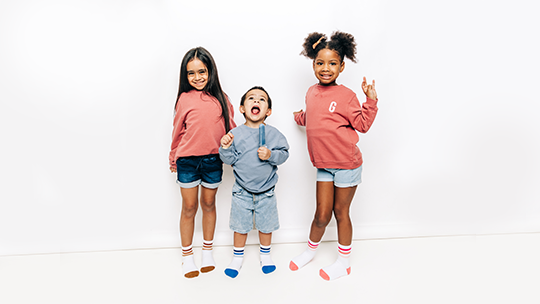
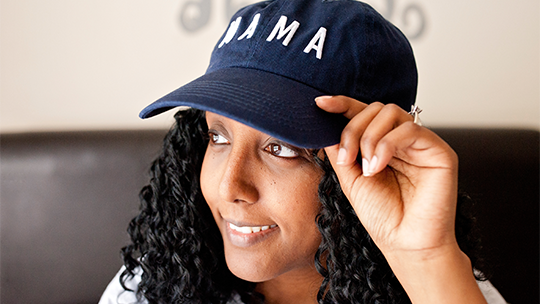
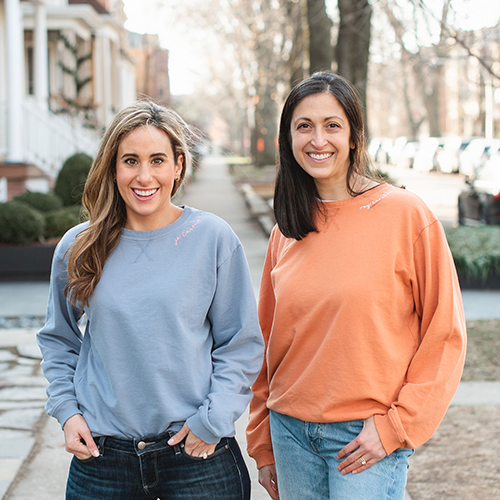
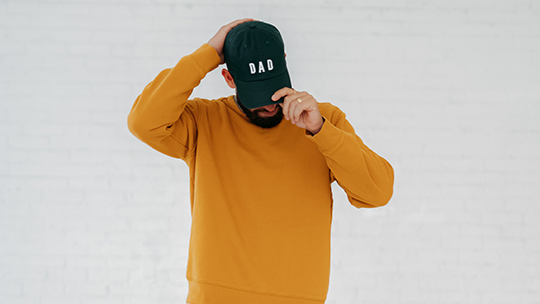
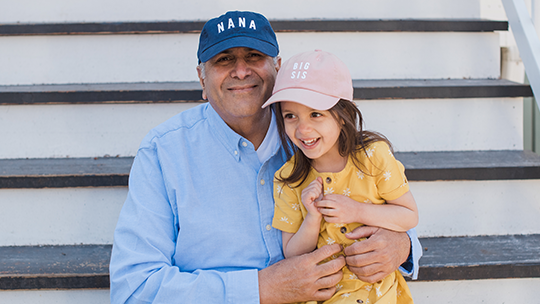
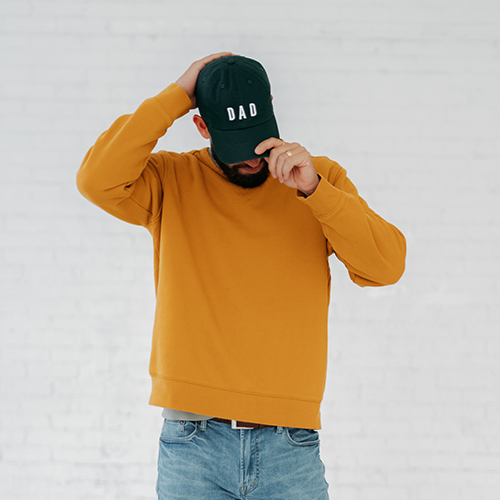
Hey Mama! As spring blooms and the Easter bunny hops closer, it's time to start planning some eggcellent festivities for the whole family. We've got an idea that will not only make your Easter celebrations memorable but also result in some adorable photo ops –custom hats for all your kiddo’s Easter Baskets! Get ready to hop into the Easter spirit with these eggciting ideas for family fun that'll have everyone in your family smiling from ear to ear.
Craft adorable Easter bunny decorations using pom poms. You'll create two pompoms (one for the body and one for the head), add bunny ears, googly eyes, a nose, and optionally, whiskers. These cute pom pom bunnies can be displayed around your home as Easter decorations or the littles can give them to their friends!Bonus Idea:Invite your kiddo’s friends over and grab some perfect photos in custom Rey to Z Letter hats!Don’t forget to tag us on Instagram!
How To Make Them:
Materials Needed:
Instructions:
Shape Ears: Cut out two bunny ear shapes from cardboard and cover them with pink yarn. Alternatively, you can use pink felt or paper for the ears.
For a chirpy twist, why not make chick themed hats? Yellow feathers, orange beaks, and googly eyes can turn ordinary hats into adorable little chicks. It's a fantastic opportunity for your kids to explore their artistic side while getting into the Easter spirit.
How To Make Them:
Materials Needed:
Instructions:
Cut small triangles out of the orange felt or construction paper to make the beaks. You'll need one triangle per hat.
Use glue to attach the yellow feathers around the brim or top of the hat. You can arrange them in a circular pattern to resemble chick feathers.
Glue one orange felt triangle onto the front of each hat to create the chick's beak. Place it in the center, slightly below where the eyes will go.
Glue googly eyes above the beak to complete the chick's face. You can use large googly eyes for a cute and cartoonish look.
Allow the glue to dry completely before wearing or displaying the chic themed hats.
For added flair, you can embellish the hats further by attaching ribbons, flowers, or other decorative elements.
Once your chick themed hats are dry, they're ready to wear or display! These adorable creations are perfect for adding a chirpy twist to your Easter festivities and encouraging your kids to unleash their artistic talents.
No Easter celebration is complete without an egg hunt! Hide colorful eggs around your backyard or living room and let the kiddos loose. Don't forget to snap some pics of them in their custom hats as they search for those elusive eggs.
Materials Needed:
Instructions:
Fill plastic Easter eggs with candy, small toys, stickers, or any other treats you'd like to include. Make sure the treats are age appropriate for the children participating in the egg hunt.
Decide where you want to host the egg hunt. If the weather is nice, an outdoor space like your backyard or a local park is ideal. If not, you can host the egg hunt indoors in your living room or another large area with enough space for hiding eggs.
Once you've filled the eggs, hide them around the designated area. Be creative with your hiding spots, tucking eggs behind bushes, under trees, or behind furniture indoors. Make sure to spread the eggs out evenly so that each child has a fair chance to find them.
Gather the littles participating in the egg hunt and explain the rules. Let them know how many eggs they're allowed to find and whether there are any special prizes for finding certain eggs. Remind them to be gentle and respectful of the property while searching for eggs.
Once everyone understands the rules, it's time to start the egg hunt! Release the children and watch as they eagerly search for eggs. Encourage them to explore every nook and cranny to find as many eggs as they can.
Don't forget to snap some photos of the children in their custom hats as they search for eggs. These candid moments will be cherished memories for years to come, so be sure to capture the excitement and joy on their faces.
After all the eggs have been found, gather the children together and count how many eggs each child has collected. You can also have them trade in their eggs for prizes or treats if you'd like.
Once the egg hunt is over, celebrate with the children by enjoying the treats they found in their eggs. You can also have them show off their custom hats and take more photos to commemorate the fun filled day.
Hosting an egg hunt is a classic Easter tradition that children of all ages will love. With a little preparation and creativity, you can create an eggciting adventure that will be remembered fondly for years to come. Enjoy the festivities and happy hunting!
Host your very own Easter parade right in your neighborhood! Decked out in their pretty pastelcustom hats, your little ones can strut their stuff while showing off their creative creations. Invite friends and neighbors to join in the fun for a community celebration that'll have everyone smiling.
Materials Needed:
Instructions:
Choose a safe and accessible route in your neighborhood for the parade. Consider factors such as traffic, sidewalks, and any landmarks or points of interest along the way.
Reach out to friends, neighbors, and members of your community to invite them to participate in the Easter parade. You can send out invitations via email, social media, or by word of mouth. Encourage participants to wear their pretty pastel custom hats and any other Easter Themed attire they'd like.
Add some festive decorations along the parade route to enhance the Easter atmosphere. You can hang colorful banners, string up balloons, or set up Easter Themed displays on lawns or fences.
Choose a date and time for the Easter parade that works for the majority of participants. Consider factors such as school schedules, work commitments, and other community events.
On the day of the parade, gather all participants at the starting point of the parade route. Make sure everyone is wearing their pretty pastel custom hats and ready to strut their stuff!
Kick off the parade by leading the way with some lively music or a festive Easter song. Encourage participants to walk, skip, or dance along the parade route while showing off their creative creations.
As you make your way through the neighborhood, invite spectators to join in the fun! Encourage them to come out onto their porches or front yards to watch the parade and cheer on the participants.
Don't forget to take plenty of photos and videos during the parade to capture the excitement and joy of the event. These memories will be cherished for years to come!
Once the parade has finished, gather all participants together for a post parade celebration. You can enjoy some Easter Themed refreshments, hand out awards for the best hats or costumes, and socialize with friends and neighbors.
After the parade, be sure to thank all participants for joining in the fun and making the Easter parade a success. Consider sending out thankyou notes or emails to express your gratitude for their participation.
Hosting your own Easter parade is a wonderful way to bring your community together and celebrate the joy of the holiday. With pretty pastel custom hats and plenty of enthusiasm, your parade is sure to be a hit with participants and spectators alike. Enjoy the festivities and happy parading!
Create a DIY Easter basket photo booth using a simple backdrop and props like bunny ears, carrots, and of course, custom hats! Encourage your family to strike a pose and capture those precious moments that you'll cherish for years to come.
Materials Needed:
Instructions:
Select a suitable location for setting up your DIY Easter basket photo booth. Ideally, choose an area with ample space and good lighting.
Hang your backdrop against a wall or other flat surface. This could be a plain backdrop or you can decorate it with Easter Themed decorations such as plastic eggs, flowers, or banners.
Place your props, including bunny ears, carrots, custom hats, and any other Easter Themed items, within easy reach of the photo booth area. You can set them out on a table or arrange them neatly on the ground.
Encourage your family members to get creative with their poses and expressions as they use the props in the photo booth. This is a fun opportunity to capture silly, playful, or heartfelt moments that you'll cherish for years to come.
Use a camera or smartphone to take photos of your family members as they strike poses in the photo booth. You can either take the photos yourself or designate someone as the photographer.
Encourage your family members to try different poses and angles to get a variety of shots. You can experiment with close up shots, group shots, or individual portraits to capture the full range of Easter Themed fun.
Above all, have fun with the photo booth experience! Encourage laughter, silliness, and spontaneity as you capture precious moments with your loved ones.
After the photo booth session, review the photos together as a family. Choose your favorites to share with friends and family, either digitally or in printed form. You can also create a scrapbook or photo album to preserve these memories for years to come.
Creating a DIY Easter basket photo booth is a wonderful way to capture special moments with your family while celebrating the joy of the holiday. With some simple props and a bit of creativity, you can create lasting memories that you'll cherish for years to come. Enjoy the photo booth fun!
Gather round the kitchen table for an egg decorating extravaganza! From traditional dyeing to more creative techniques like sticker art or glitter, let your kids' imaginations run wild as they decorate eggs to their heart's content.
treats or small toys. The thrill of the hunt combined with their custom hats will make for an unforgettable Easter adventure.
Materials Needed:
Instructions:
If using hardboiled eggs, make sure they are completely cooled before decorating.
If using blownout eggs (empty eggshells), carefully wash and dry them before decorating.
Decide whether you want to paint your eggs, dye them, or use a combination of techniques.
You can also choose a theme for your egg decorations, such as spring, nature, animals, geometric patterns, or anything else that inspires you.
If using paints or dyes, follow the instructions on the packaging.
For acrylic paints, use fine paintbrushes to create detailed designs on the eggs. You can also use sponges or cotton swabs for different effects.
If dyeing eggs, mix the dyes according to the instructions and dip the eggs into the dye baths. You can create different patterns by using wax resist techniques or by applying stickers or rubber bands before dyeing.
Once the base color is dry, you can add details using markers, glitter, sequins, stickers, or other embellishments.
Get creative with your designs! Draw patterns, faces, landscapes, or whatever comes to mind.
Try out different techniques such as decoupage, where you glue cutout images or pieces of decorative paper onto the eggs.
You can also use gold or silver leaf to add a metallic touch to your eggs.
Use washi tape to create geometric patterns or stripes on your eggs.
Don't be afraid to experiment and have fun with your egg decorating! There are no rules, so let your creativity shine.
Encourage others to join in the fun and see what unique creations they come up with.
Once your eggs are decorated, display them in a decorative basket, egg carton, or egg holder.
You can also use them as table decorations for Easter or spring gatherings, or give them as gifts to friends and family.
Remember to handle your decorated eggs with care, especially if using blownout eggs, as they can be fragile. Have a cracking good time decorating your eggs!
Spring is a beautiful time to be a mother. Watching our kids run through lush green grass and smell pretty flowers is a magical time. Embrace the moments and revel in them being little. Just as spring comes and goes quickly, so does the season of motherhood.
"Spring is when life's alive in everything." - Christina Rossetti